OpenID Connect
Configure a generic OpenID Connect (OIDC) provider as the Single Sign-On provider for your organization on the Akuity Platform.
Configuring OpenID Connect SSO
Akuity Platform SSO is available on Enterprise plans only. Please contact our Sales Team to access the feature.
The owner role on the Organization is required to configure SSO.
-
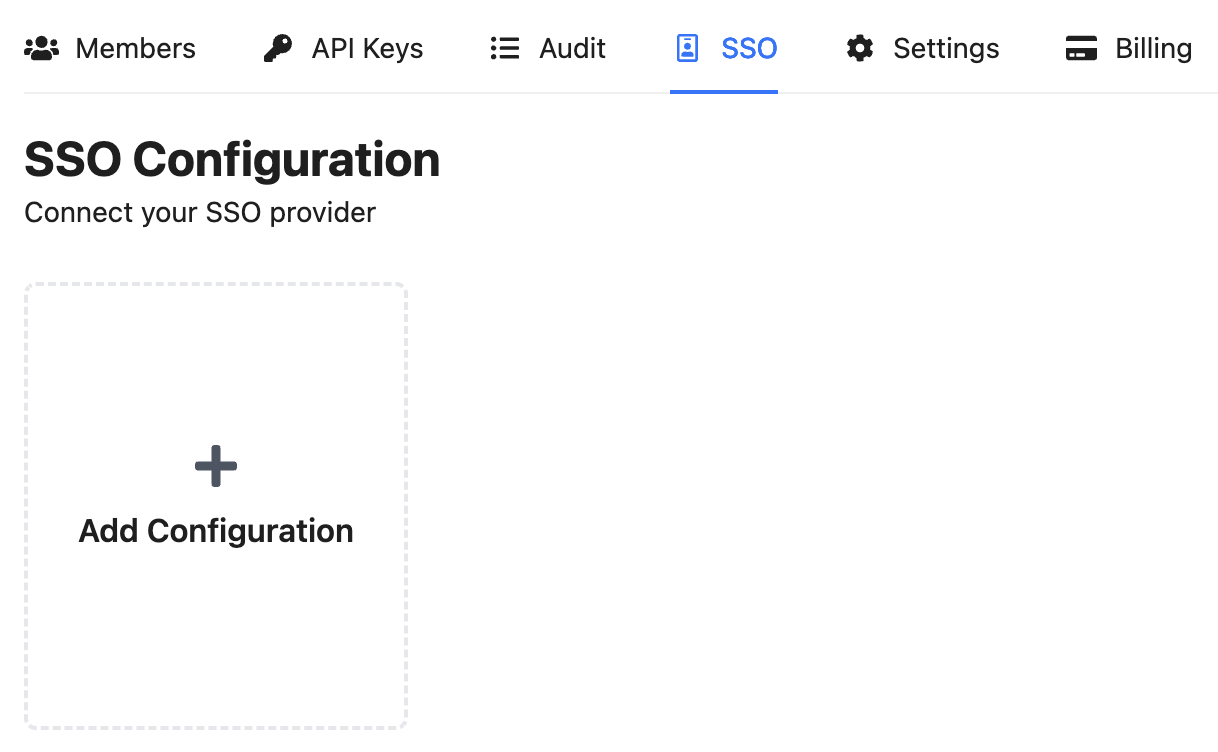
Go to Organization > SSO.
-
Click Add Configuration.
-
Create an OIDC Application.
- Set Allowed Callback URL to
https://auth.akuity.io/login/callback
- Set Allowed Callback URL to
-
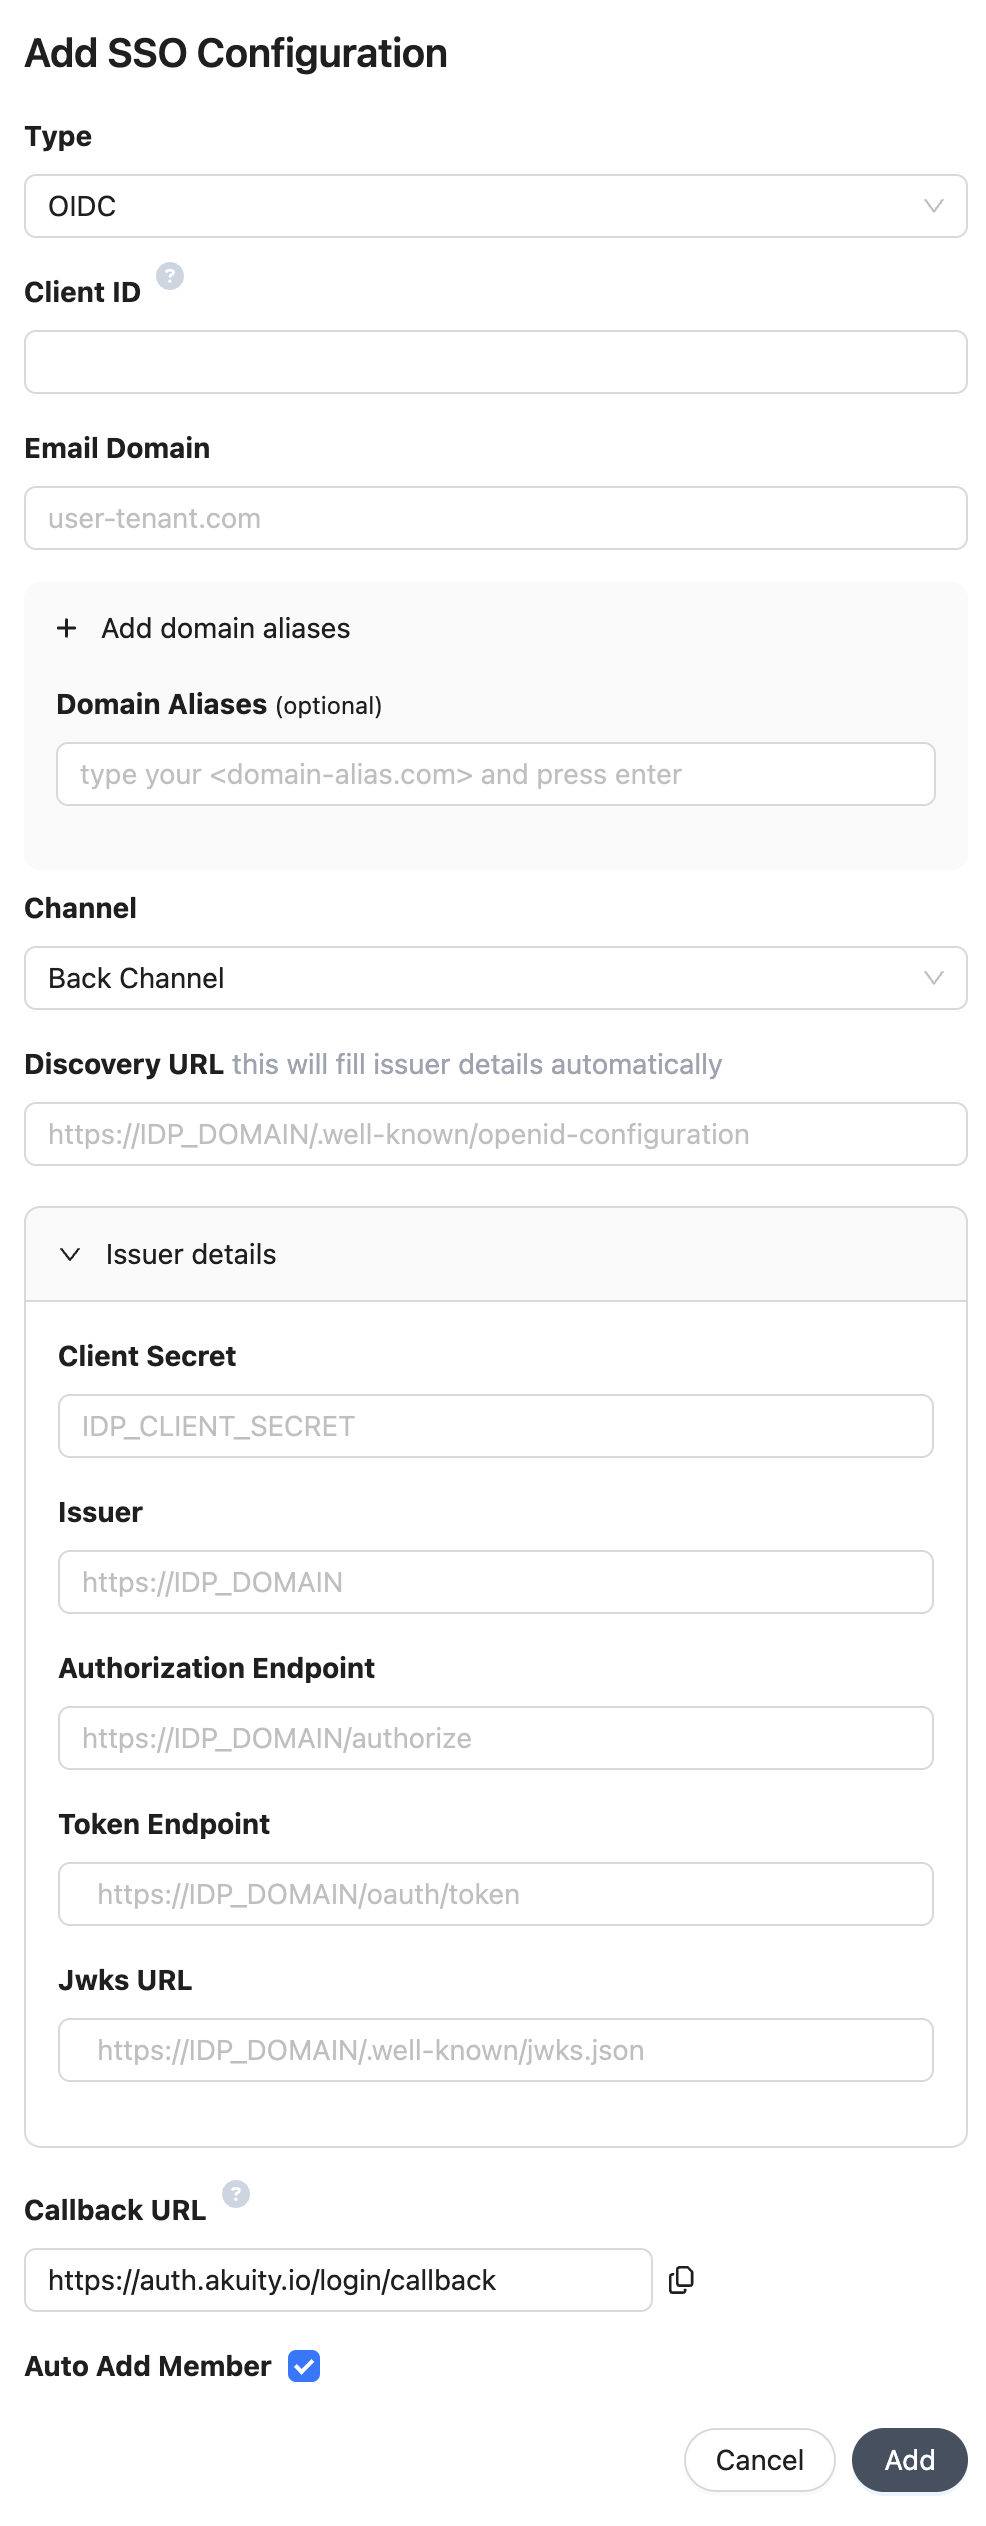
Populate the configuration details on the form.
- Client ID: OIDC Application Client ID
- Email Domain: Your organization's domain name
- Domain Aliases: Additional domains to match organization members (e.g.
some-org.com). - Channel:
Front Channelusesresponse_mode=form_postandresponse_type=id_tokenBack Channelusesresponse_type=code
- Discovery URL: OIDC Discovery URL to fill Issuer details
- Issued details:
- Client Secret: OIDC Application Client Secret (required for the
Back Channel) - Issuer: URL of the Issuer Identifier.
- Authorization Endpoint: URL of the OpenID Provider's OAuth 2.0 Authorization Endpoint.
- Token endpoint: URL of the OpenID Provider's OAuth 2.0 Token Endpoint (required for the
Back Channel). - Jwks URL: URL of the OpenID Provider's JSON Web Key Set document.
- Client Secret: OIDC Application Client Secret (required for the
- Auto Add Member: Allow your organization members to join your organization with the
memberrole automatically.
For security purposes, your domain and domain aliases will be submitted to Akuity for manual review and approval.
IDP Groups Mapping
IDP Groups does not work for Okta native integration as Okta does not support groups claim. Please use generic SAML/OIDC option instead to connect with Okta if you want to use this feature.
To configure IDP Groups for an Organization in the Akuity Platform:
-
Go to Organization > SSO.
-
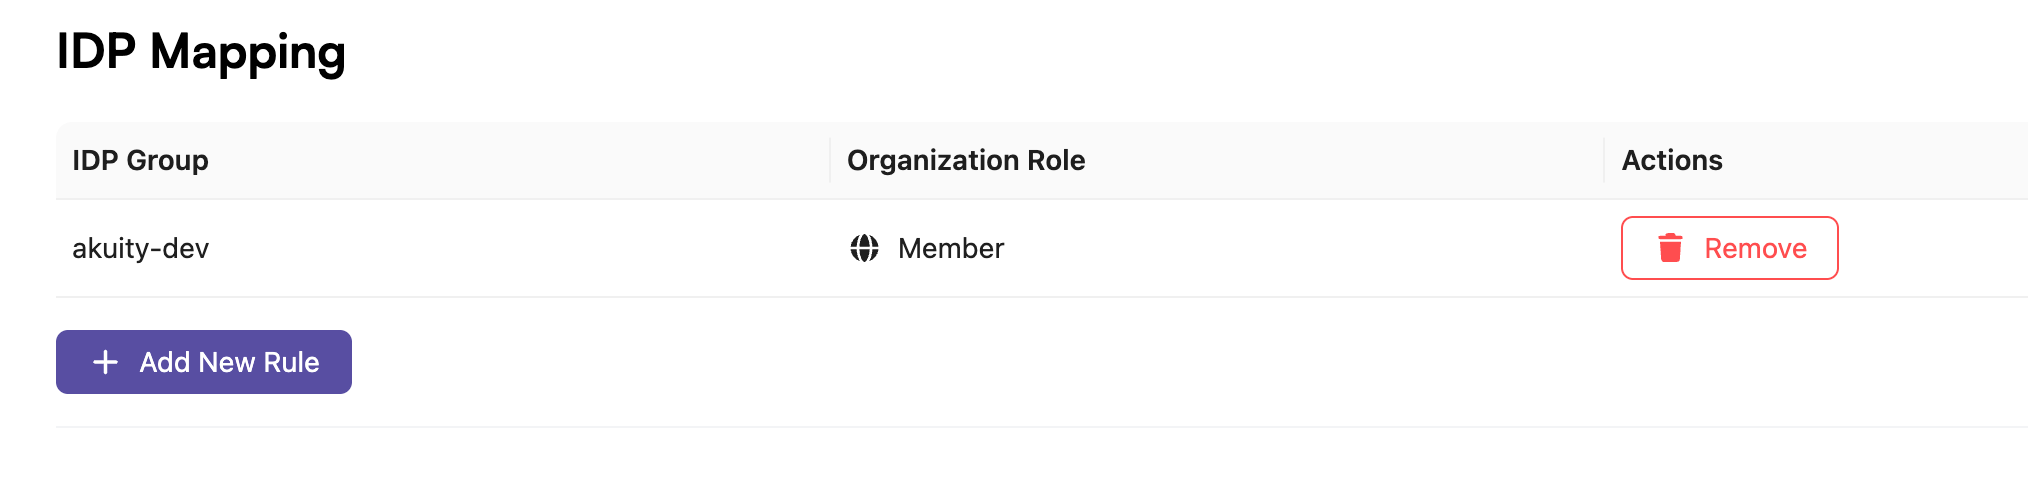
Click Add New Rule in the IDP Mapping.
-
In the Add IDP Group Mapping select the role and specify the corresponding IDP Group for your provider.
-
Click the Add button.
In the SSO settings, if the Auto Add Member is checked the new user will join your organization with the member role automatically.
IDP Team Mapping
IDP Team Mapping does not work for Okta native integration as Okta does not support groups claim. Please use generic SAML/OIDC option instead to connect with Okta if you want to use this feature.
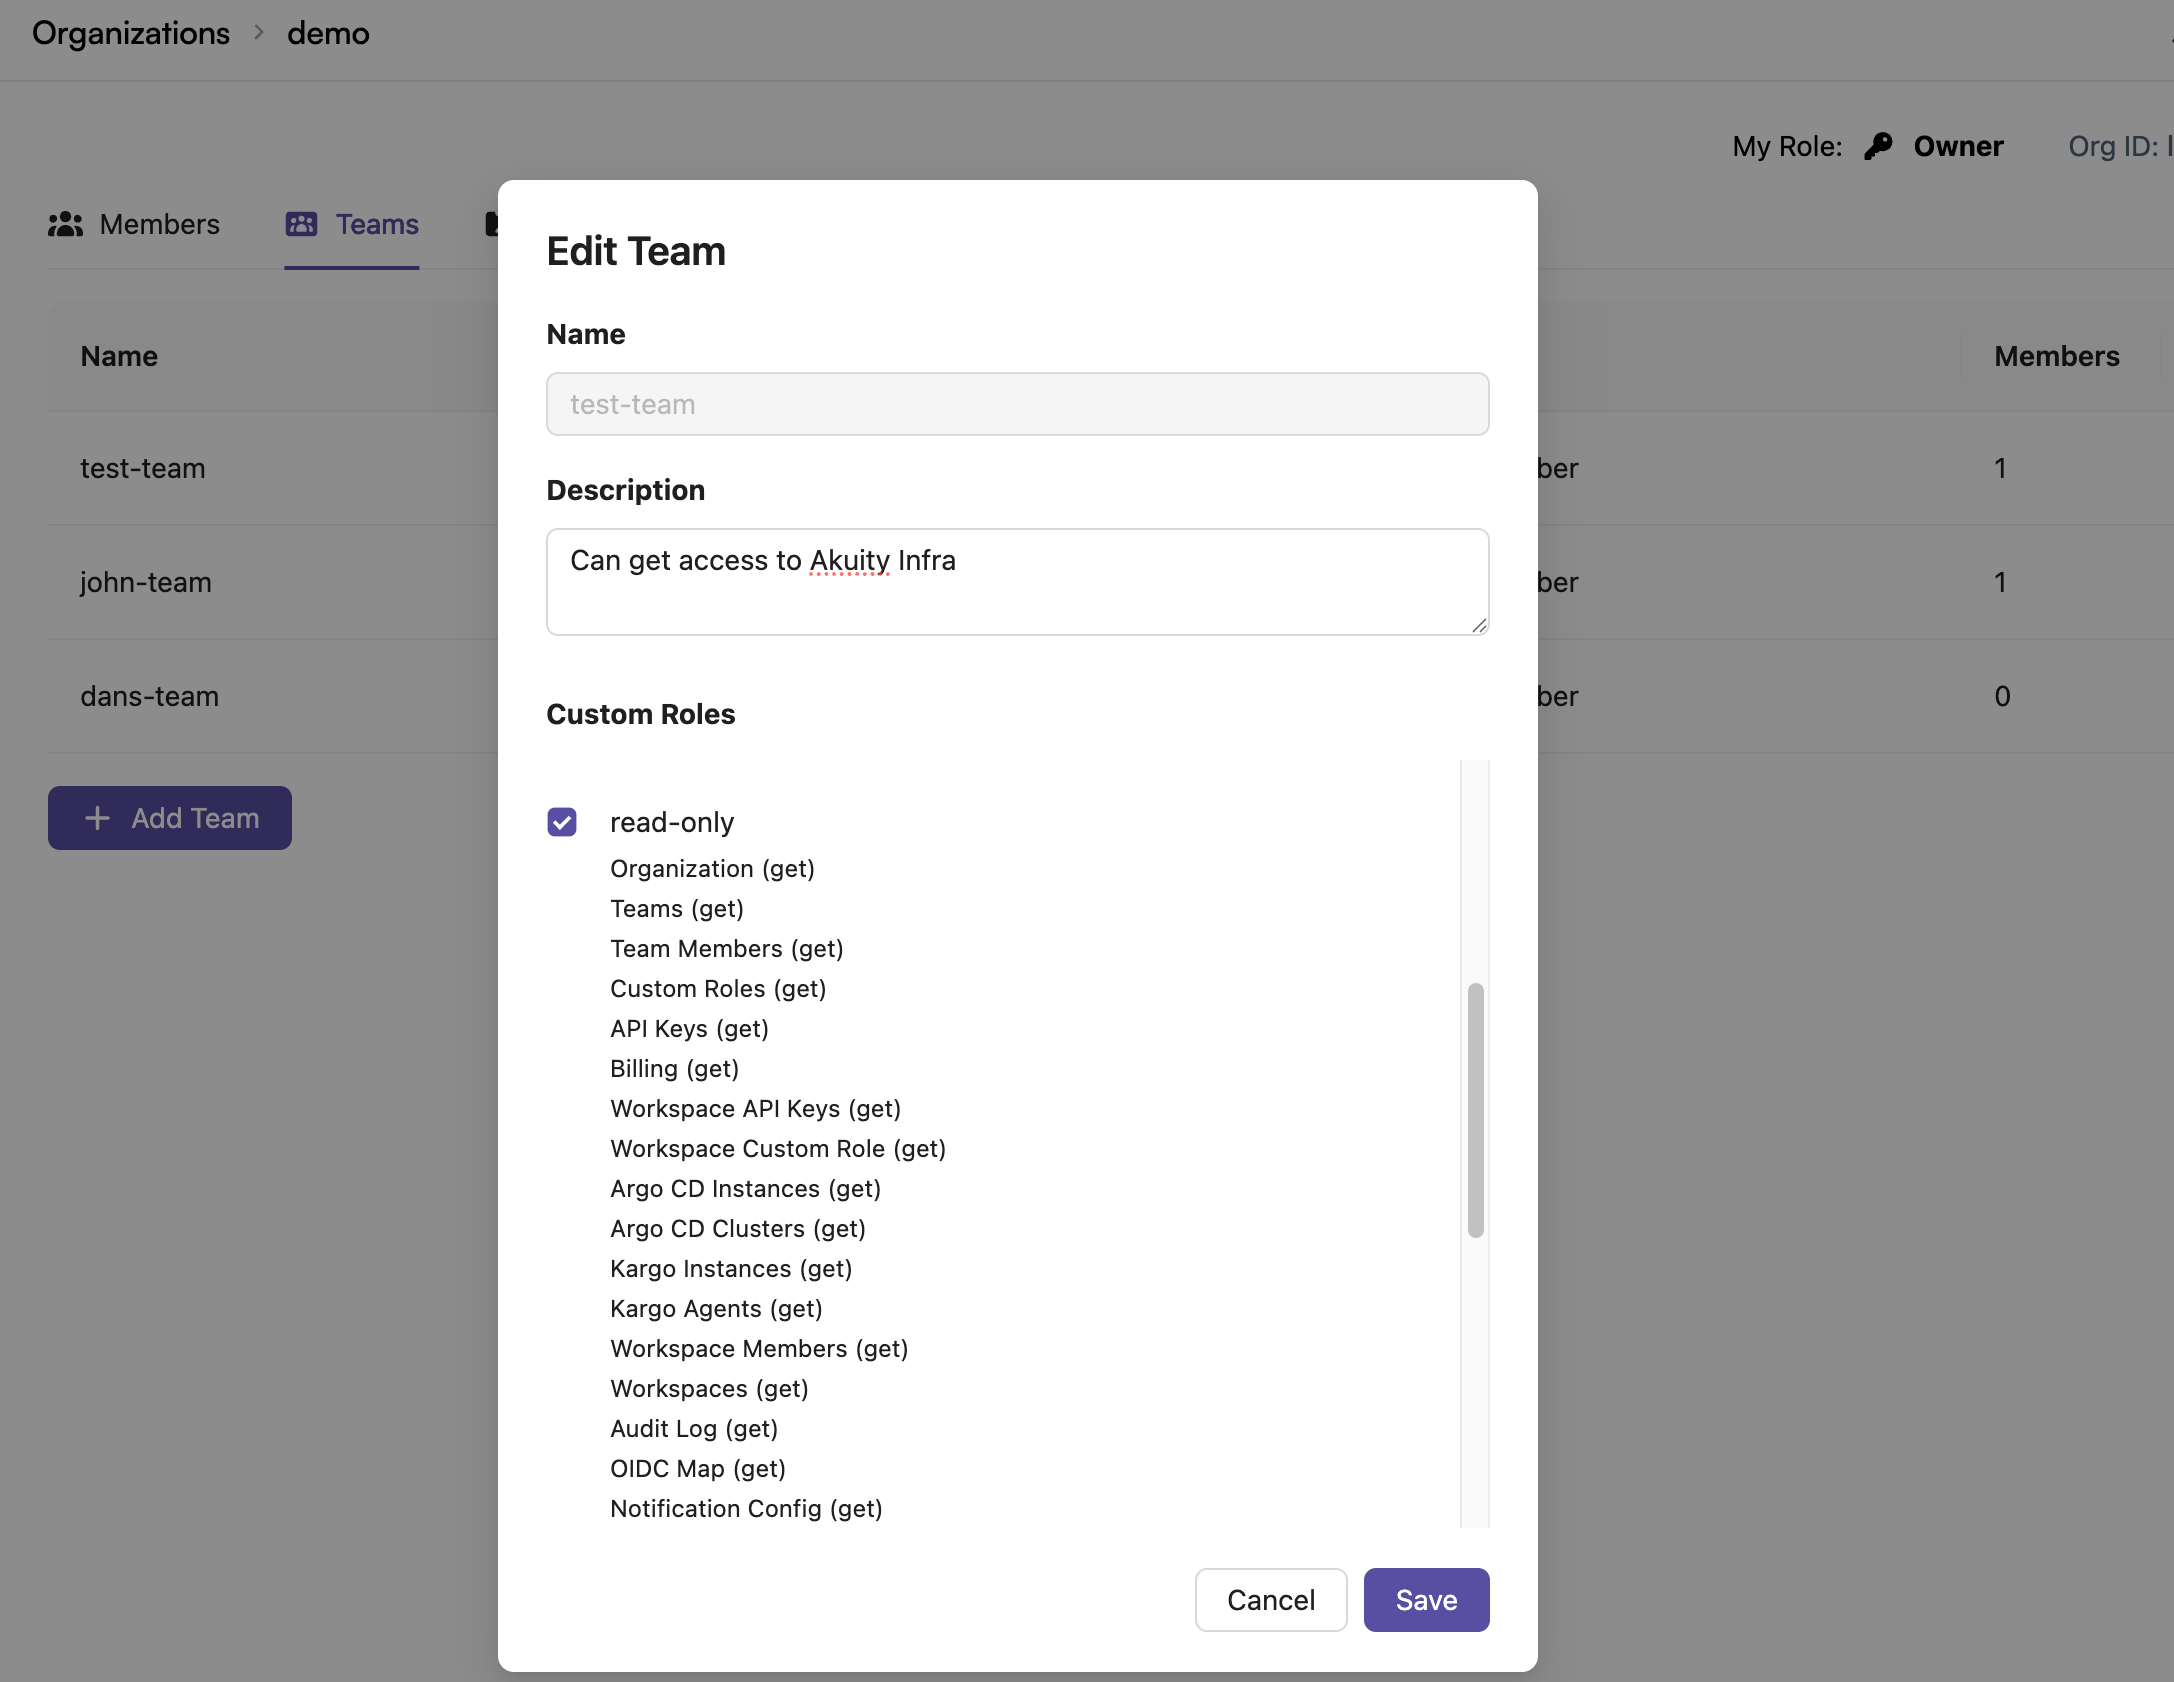
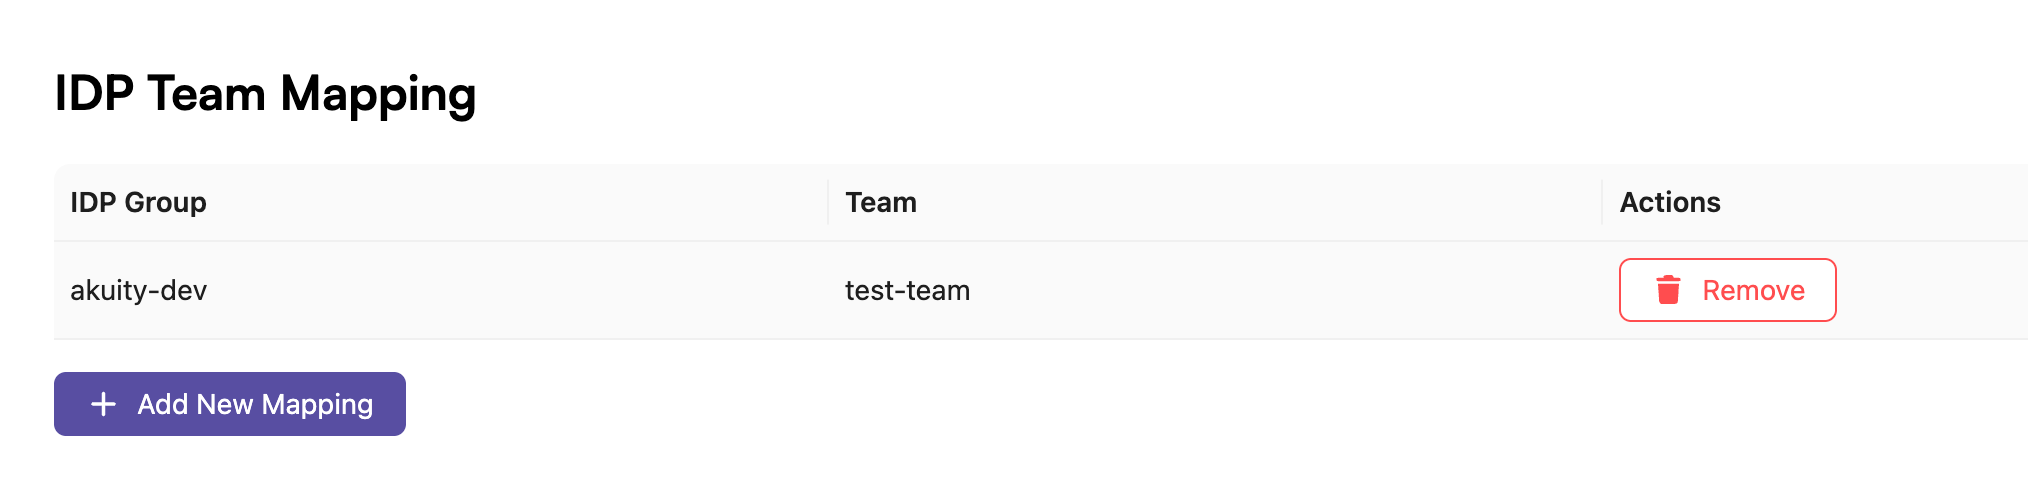
This feature allows you to map users with a specific OIDC group to a team in your organization.
Your organization must have at least one Team.
To configure this feature for an Organization in the Akuity Platform:
-
Go to Organization > SSO.
-
Scroll down to the "IDP Team Mapping" section and click Add New Mapping.
-
In the modal that appears, specify an IDP group and select an existing team from the dropdown.
-
Click the Add button.
Now, when a user logs in with the specified IDP group, they will be added to the selected team in your organization.