Argo CD SSO Configuration
The Akuity Platform allows you to configure a single SSO provider for Argo CD, such as GitHub, SAML, or any other supported providers, ensuring secure user access to your Argo CD instance. This guide provides a step-by-step approach to setting up Single Sign-On (SSO) for Argo CD using the Akuity Platform.
Argo CD SSO is available in all Professional and Enterprise plans. If you would like to have an SSO configured specifically for your Organization, it is recommended to use the Akuity Platform SSO.
Configuring SSO
-
In your Argo CD Instance, go to Settings.
-
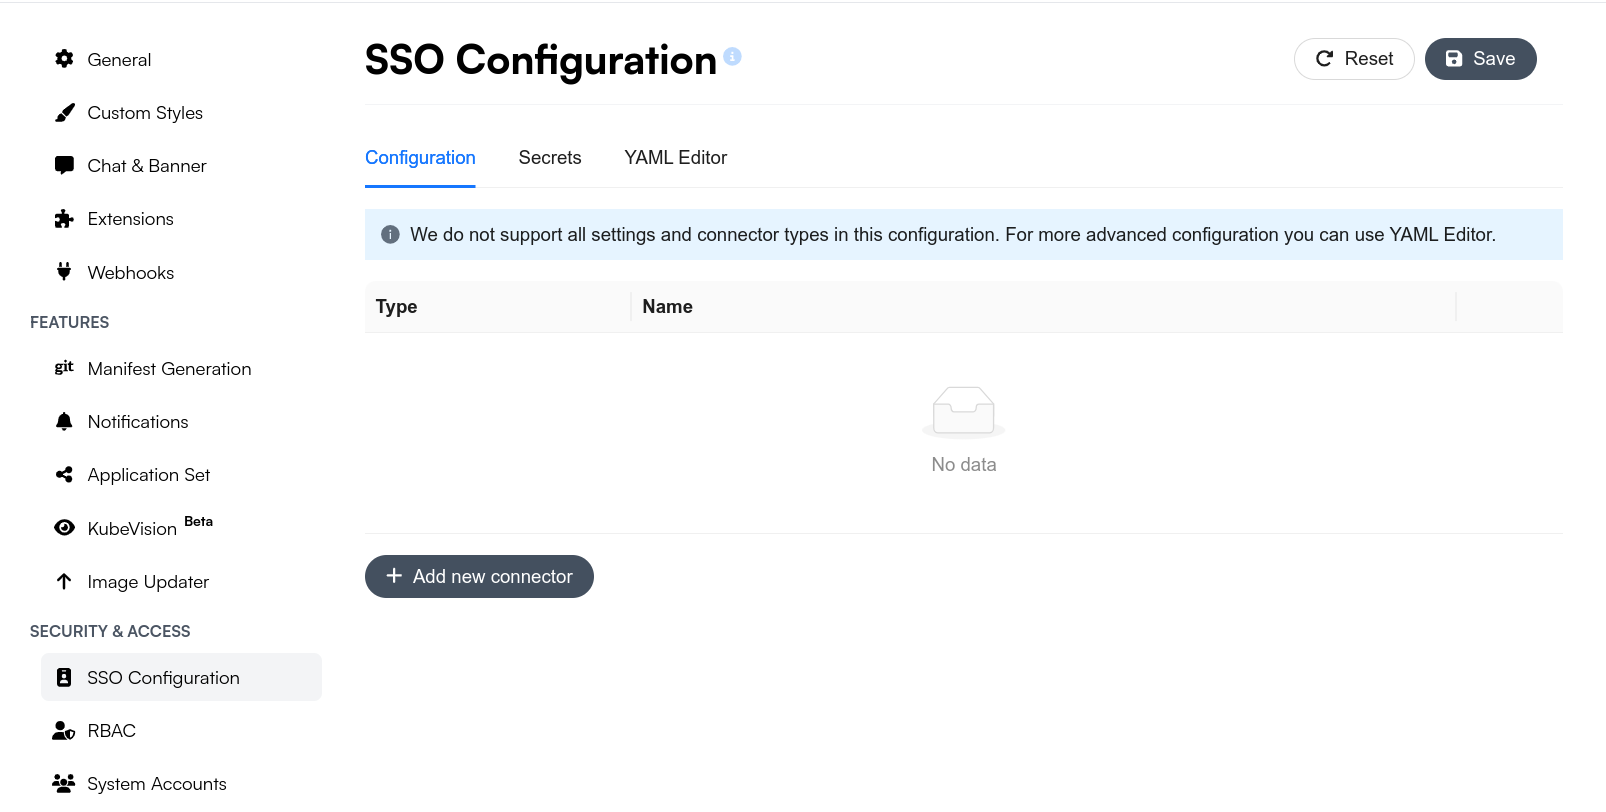
In the left panel, search for Security & Access and go to SSO Configuration.
-
Click on Add new connector and select your desired
Type.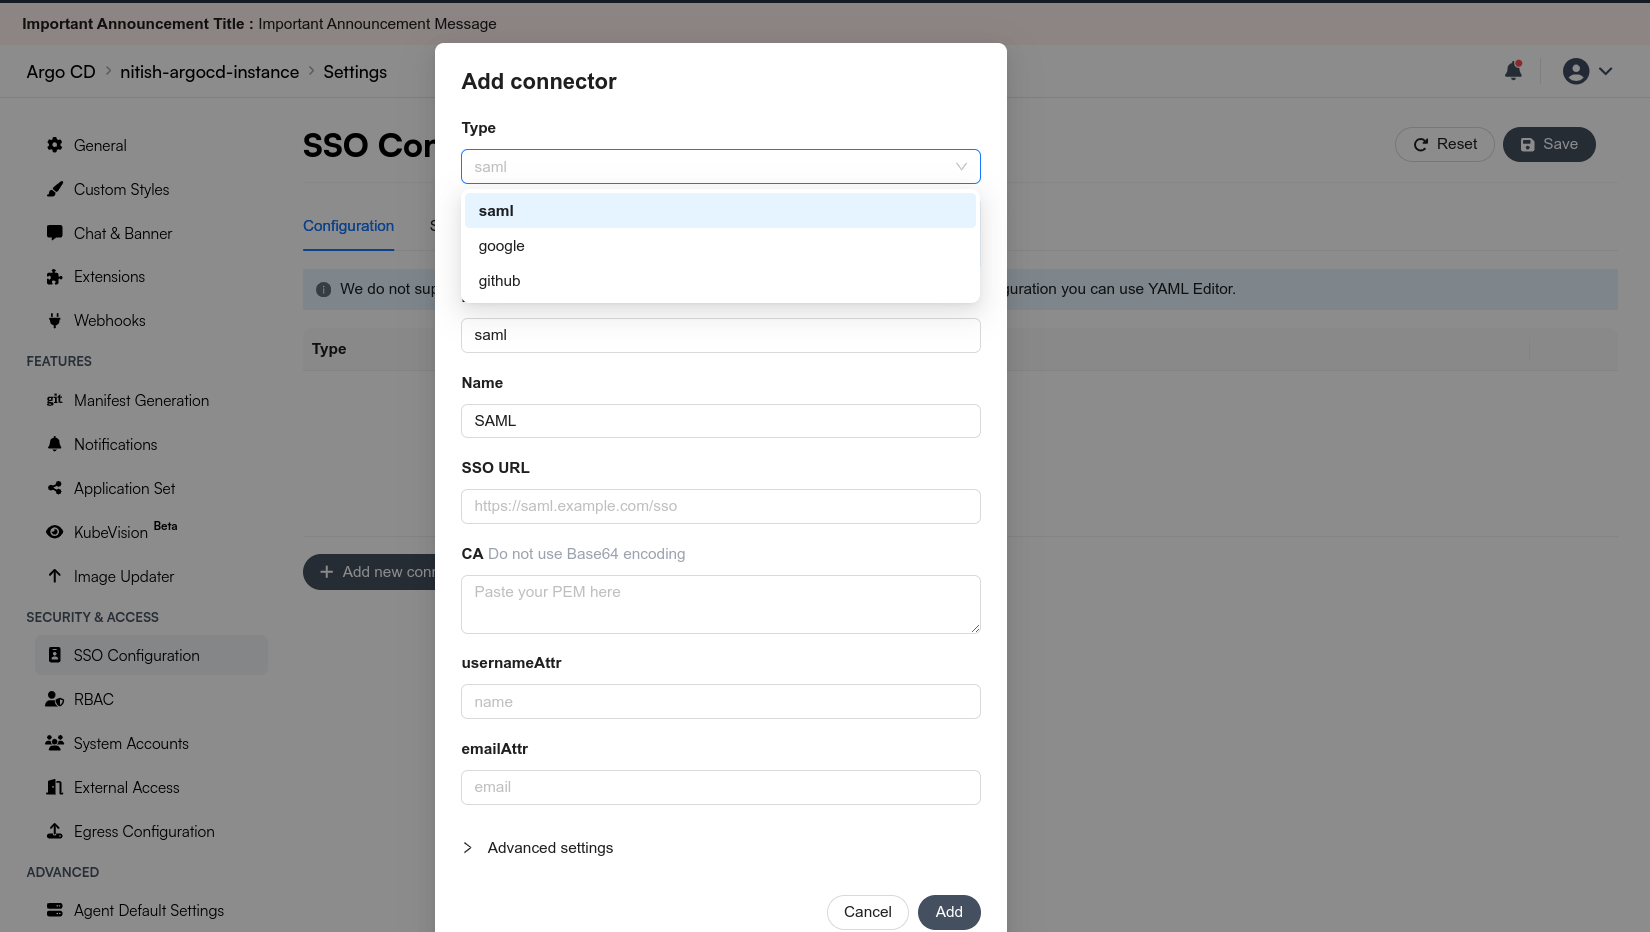
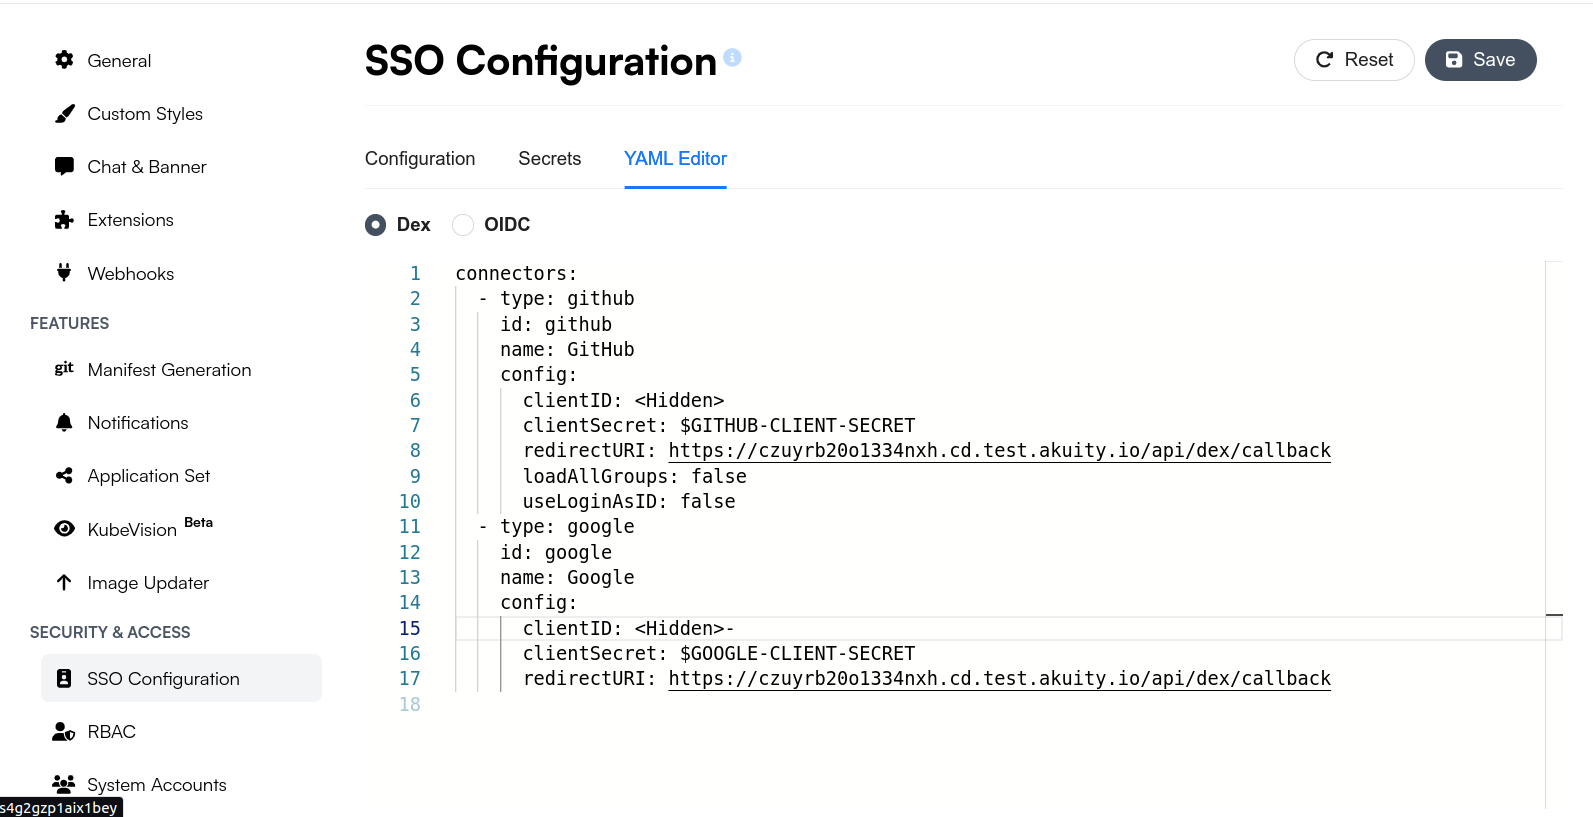
If you don't see your desired connector type in the configuration, it is recommended to use the YAML Editor for advanced configurations.
- SAML
- GitHub
-
Register a New SAML Application:
- In your SAML Identity Provider (IdP) portal (e.g., Okta, Microsoft Entra ID, or Auth0), create a new SAML application.
- Provide a name (e.g., "Argo CD") and configure the Single Sign-On URL (or ACS URL) to point to the
/api/dex/callbackendpoint of your Argo CD URL (e.g., https://argocd.example.com/api/dex/callback). - After creating the application, download the SAML metadata file from your IdP. This metadata file will contain necessary information like the
Entity ID,SSO URL, and thepublic certificateneeded for SAML authentication.
-
Store your SSO URL and Public Certificate in a secure location since you'll need both in the next steps.
-
Paste your SSO URL and Publc Certificate (not Base64 encoded) in the connector along with the username attribute and email attribute, and click Add
-
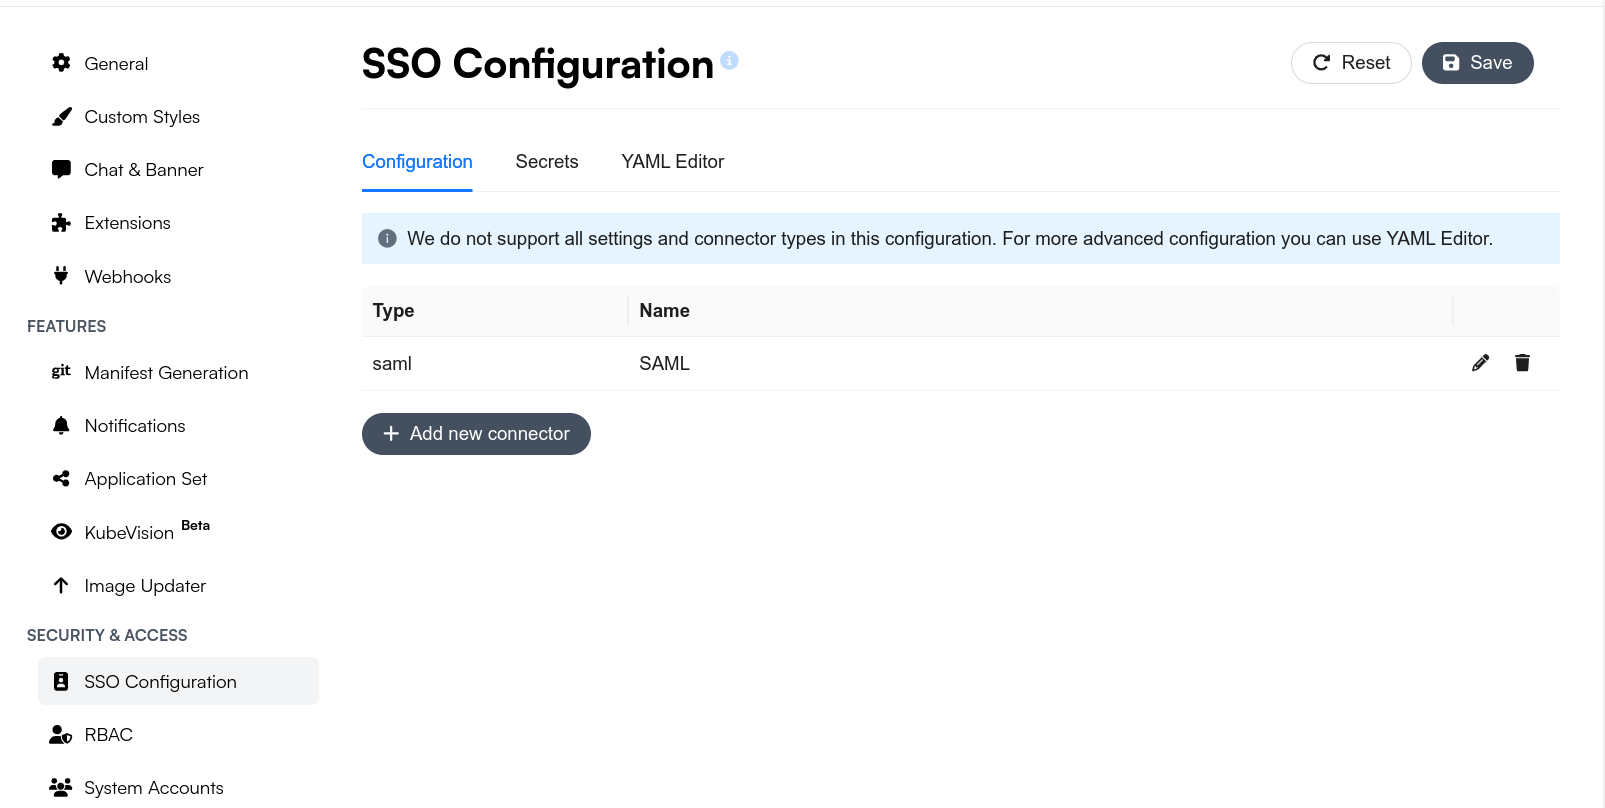
Finally, click Save in the top-right corner.
-
Set Up the OAuth Consent Screen:
- Go to the OAuth Consent Screen in the Google Cloud Console. If you haven't configured it yet, select Internal or External and click Create.
- Provide a name for your login app, a user support email, and add Authorized domains (e.g., example.com to allow all users with @example.com to log in).
- Optionally, add an app logo and other information for a customized login experience.
- Save and proceed to the Scopes section to add
.../auth/userinfo.profileandopenidscopes. Review and finalize your setup.
-
Store your Client ID and Client Secret in a secure location since you'll need both in the next steps.
-
Paste your Client ID and Client Secret in the connector and click on Add
-
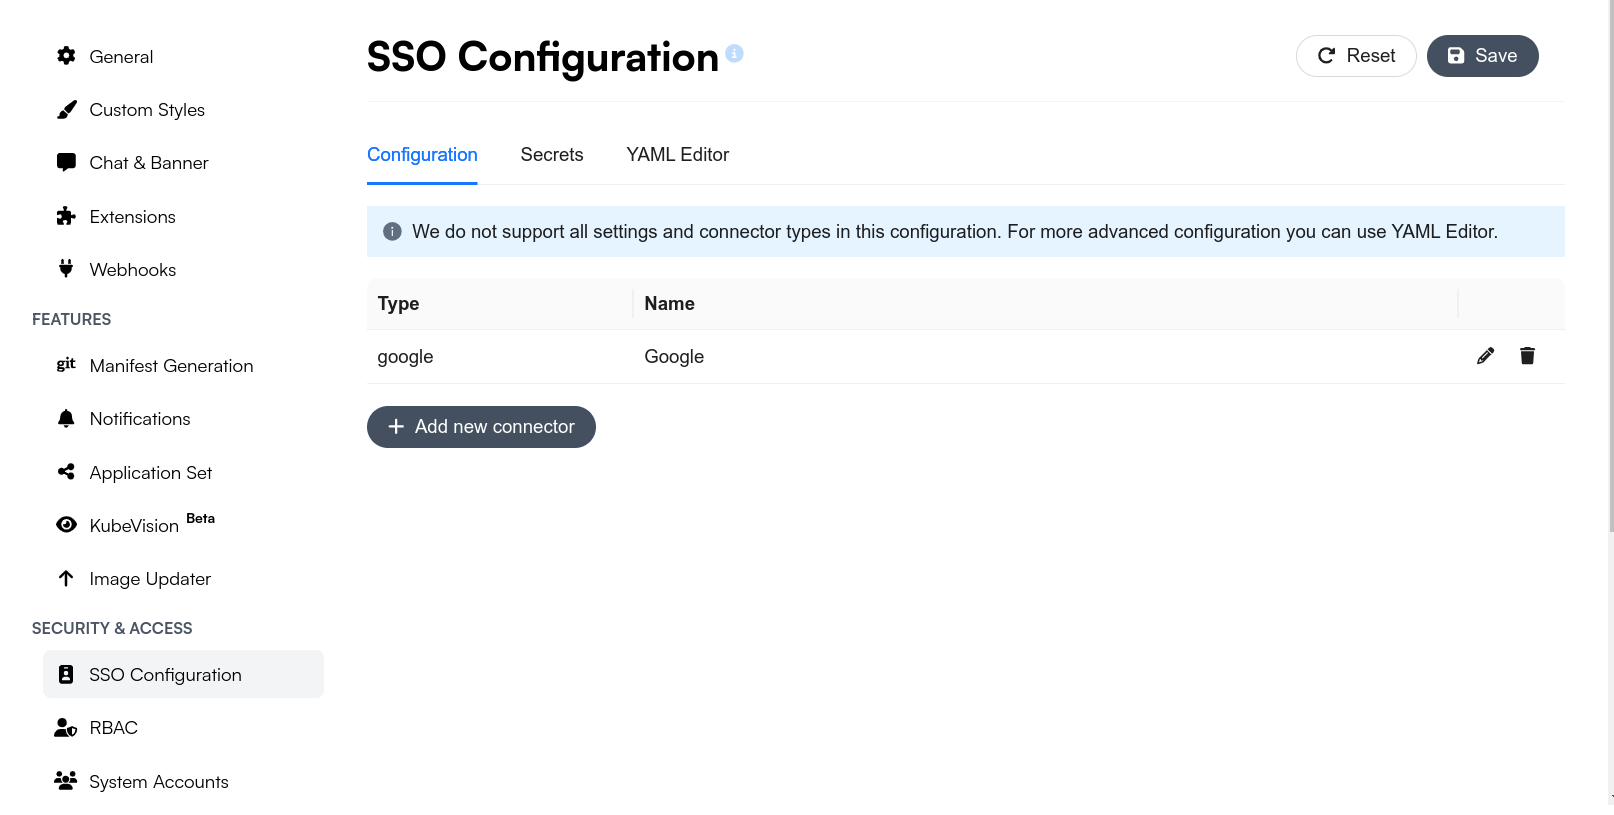
Finally, click on Save in the top right corner.
-
In GitHub, register a new application. Go to Settings > Developer Settings and create a new GitHub App. The callback address for the GitHub App should be the
/api/dex/callbackendpoint of your Argo CD URL (eg. https://argocd.eg.com/api/dex/callback) -
Store your Client ID and Client Secret in a secure location since you'll need both in the next steps.
-
Paste your Client ID and Client Secret in the connector and click on Add
-
Finally, click on Save in the top right corner.
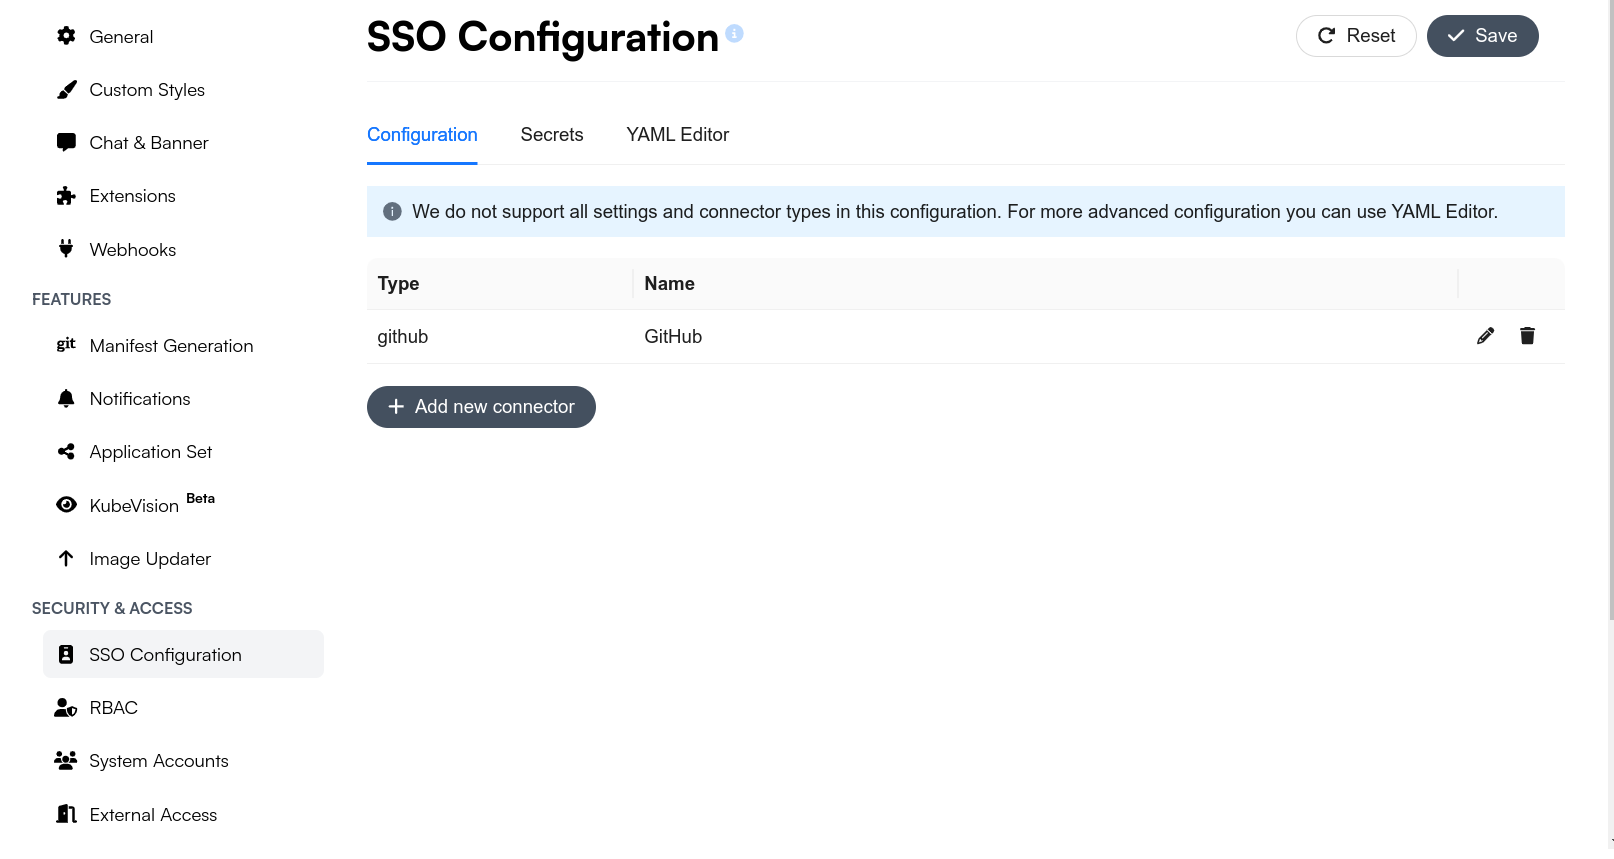
Once your connectors have been added and saved, you can also use the YAML Editor to perform advanced configurations.
-
In order to validate, open a new browser and enter your ArgoCD Instance URL:
https://<my-argo-cd-instance-url>.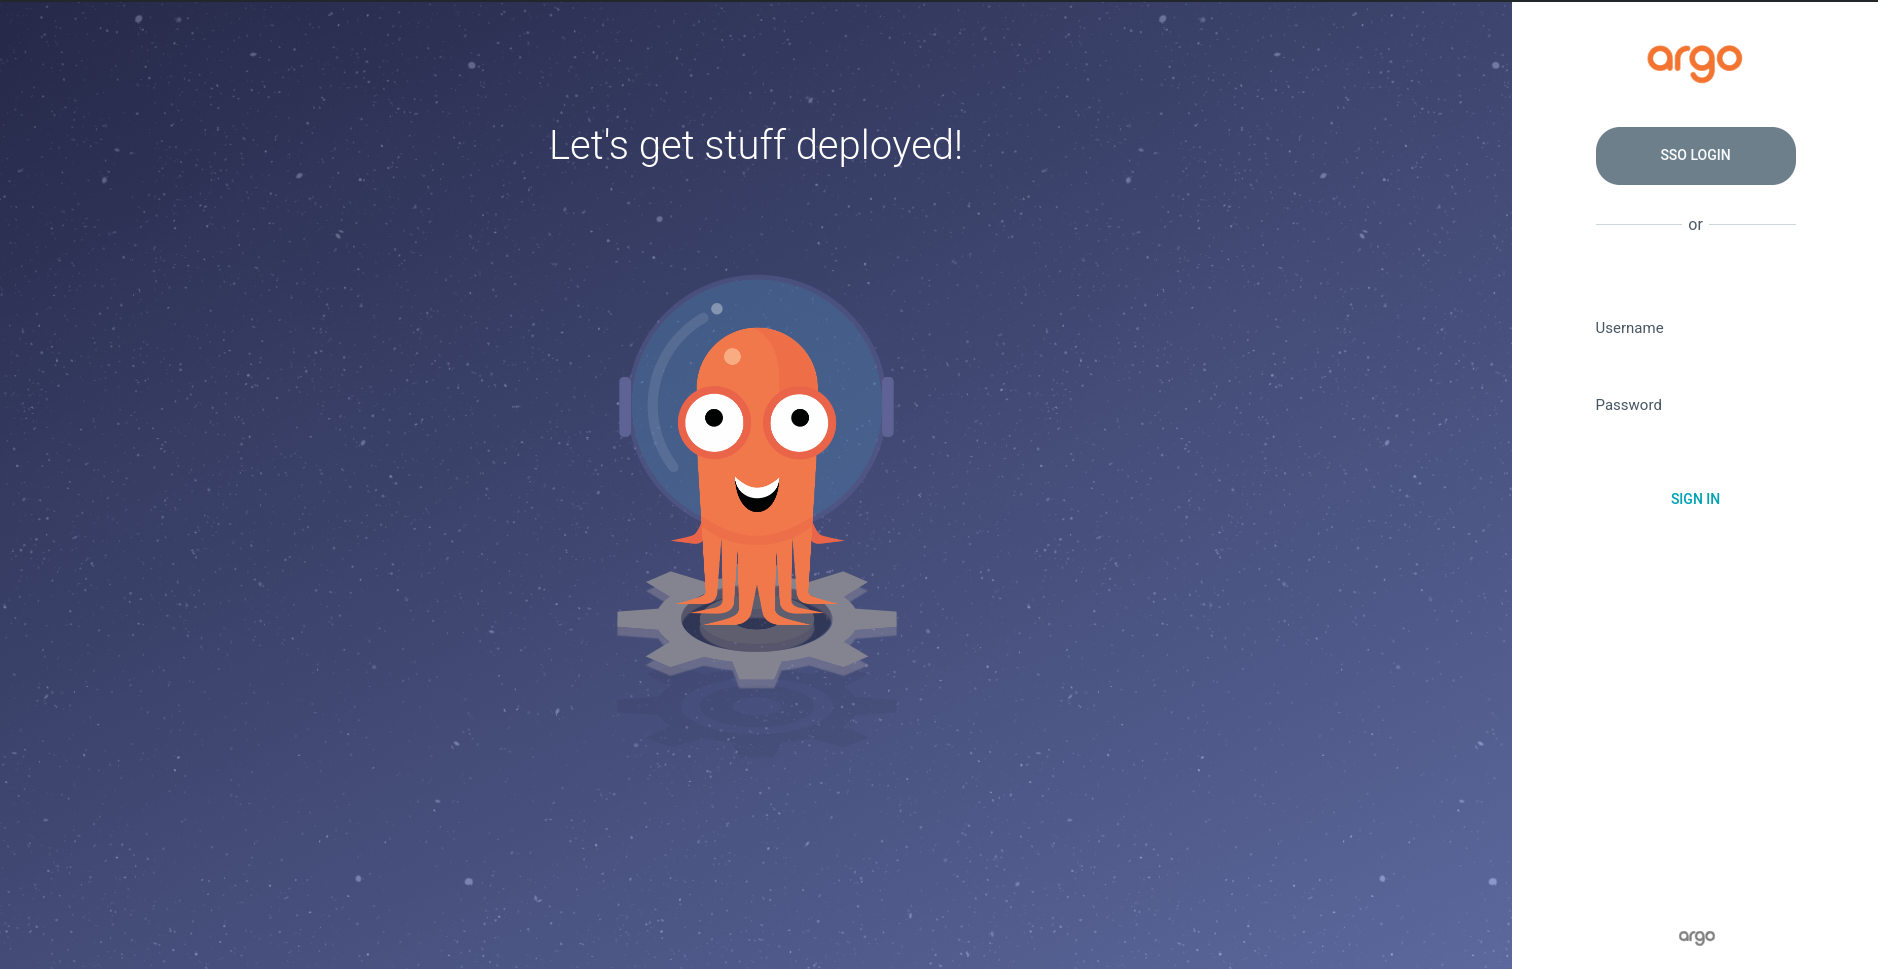
-
Click on SSO LOGIN and log in to your Argo CD instance.
Congratulations! You've successfully set up the Argo CD SSO configuration using Akuity Platform.